项目地址
Axin-SpringCloud
如果帮助到了您,动动小手,帮忙给个star。
步骤说明
构建Eureka注册中心
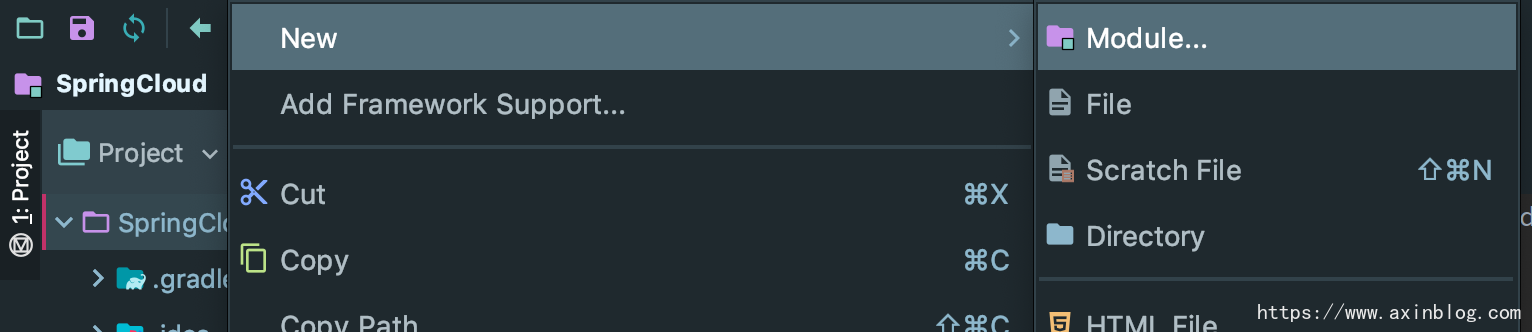
对主项目SpringCloud右键,构建子模块,来创建Eureka
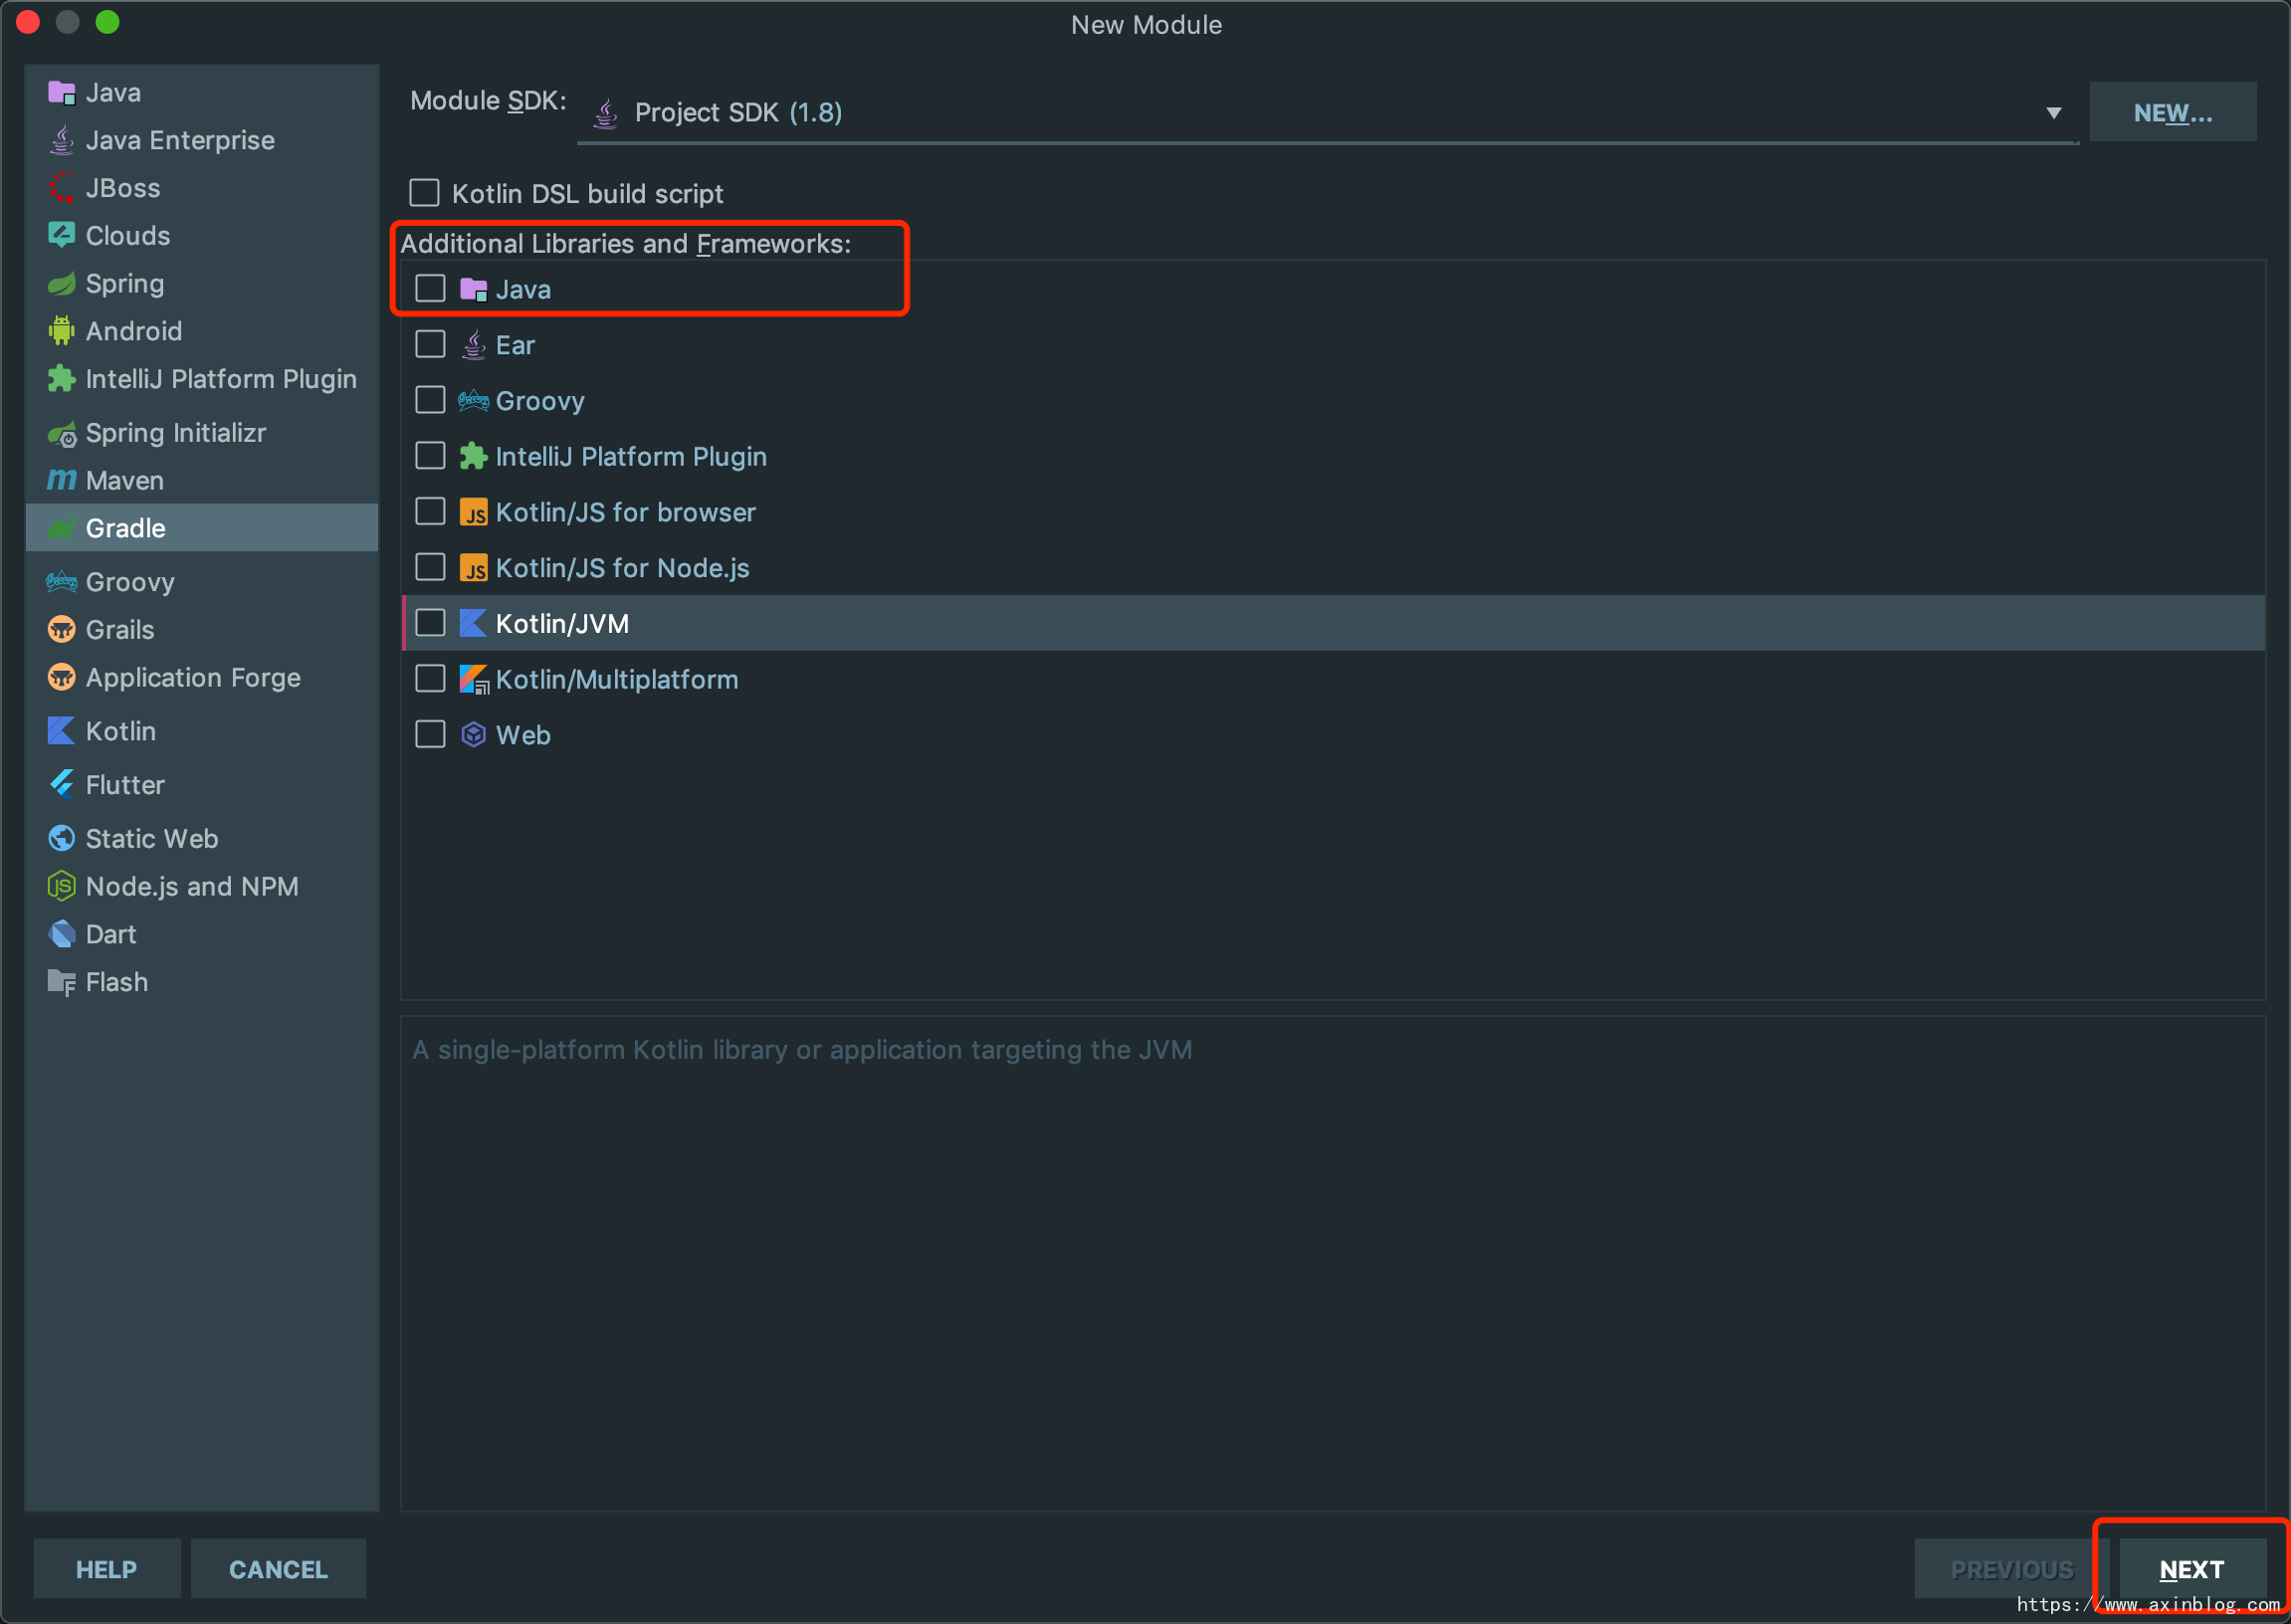
还是选择Gradle,这里取消选中Java。
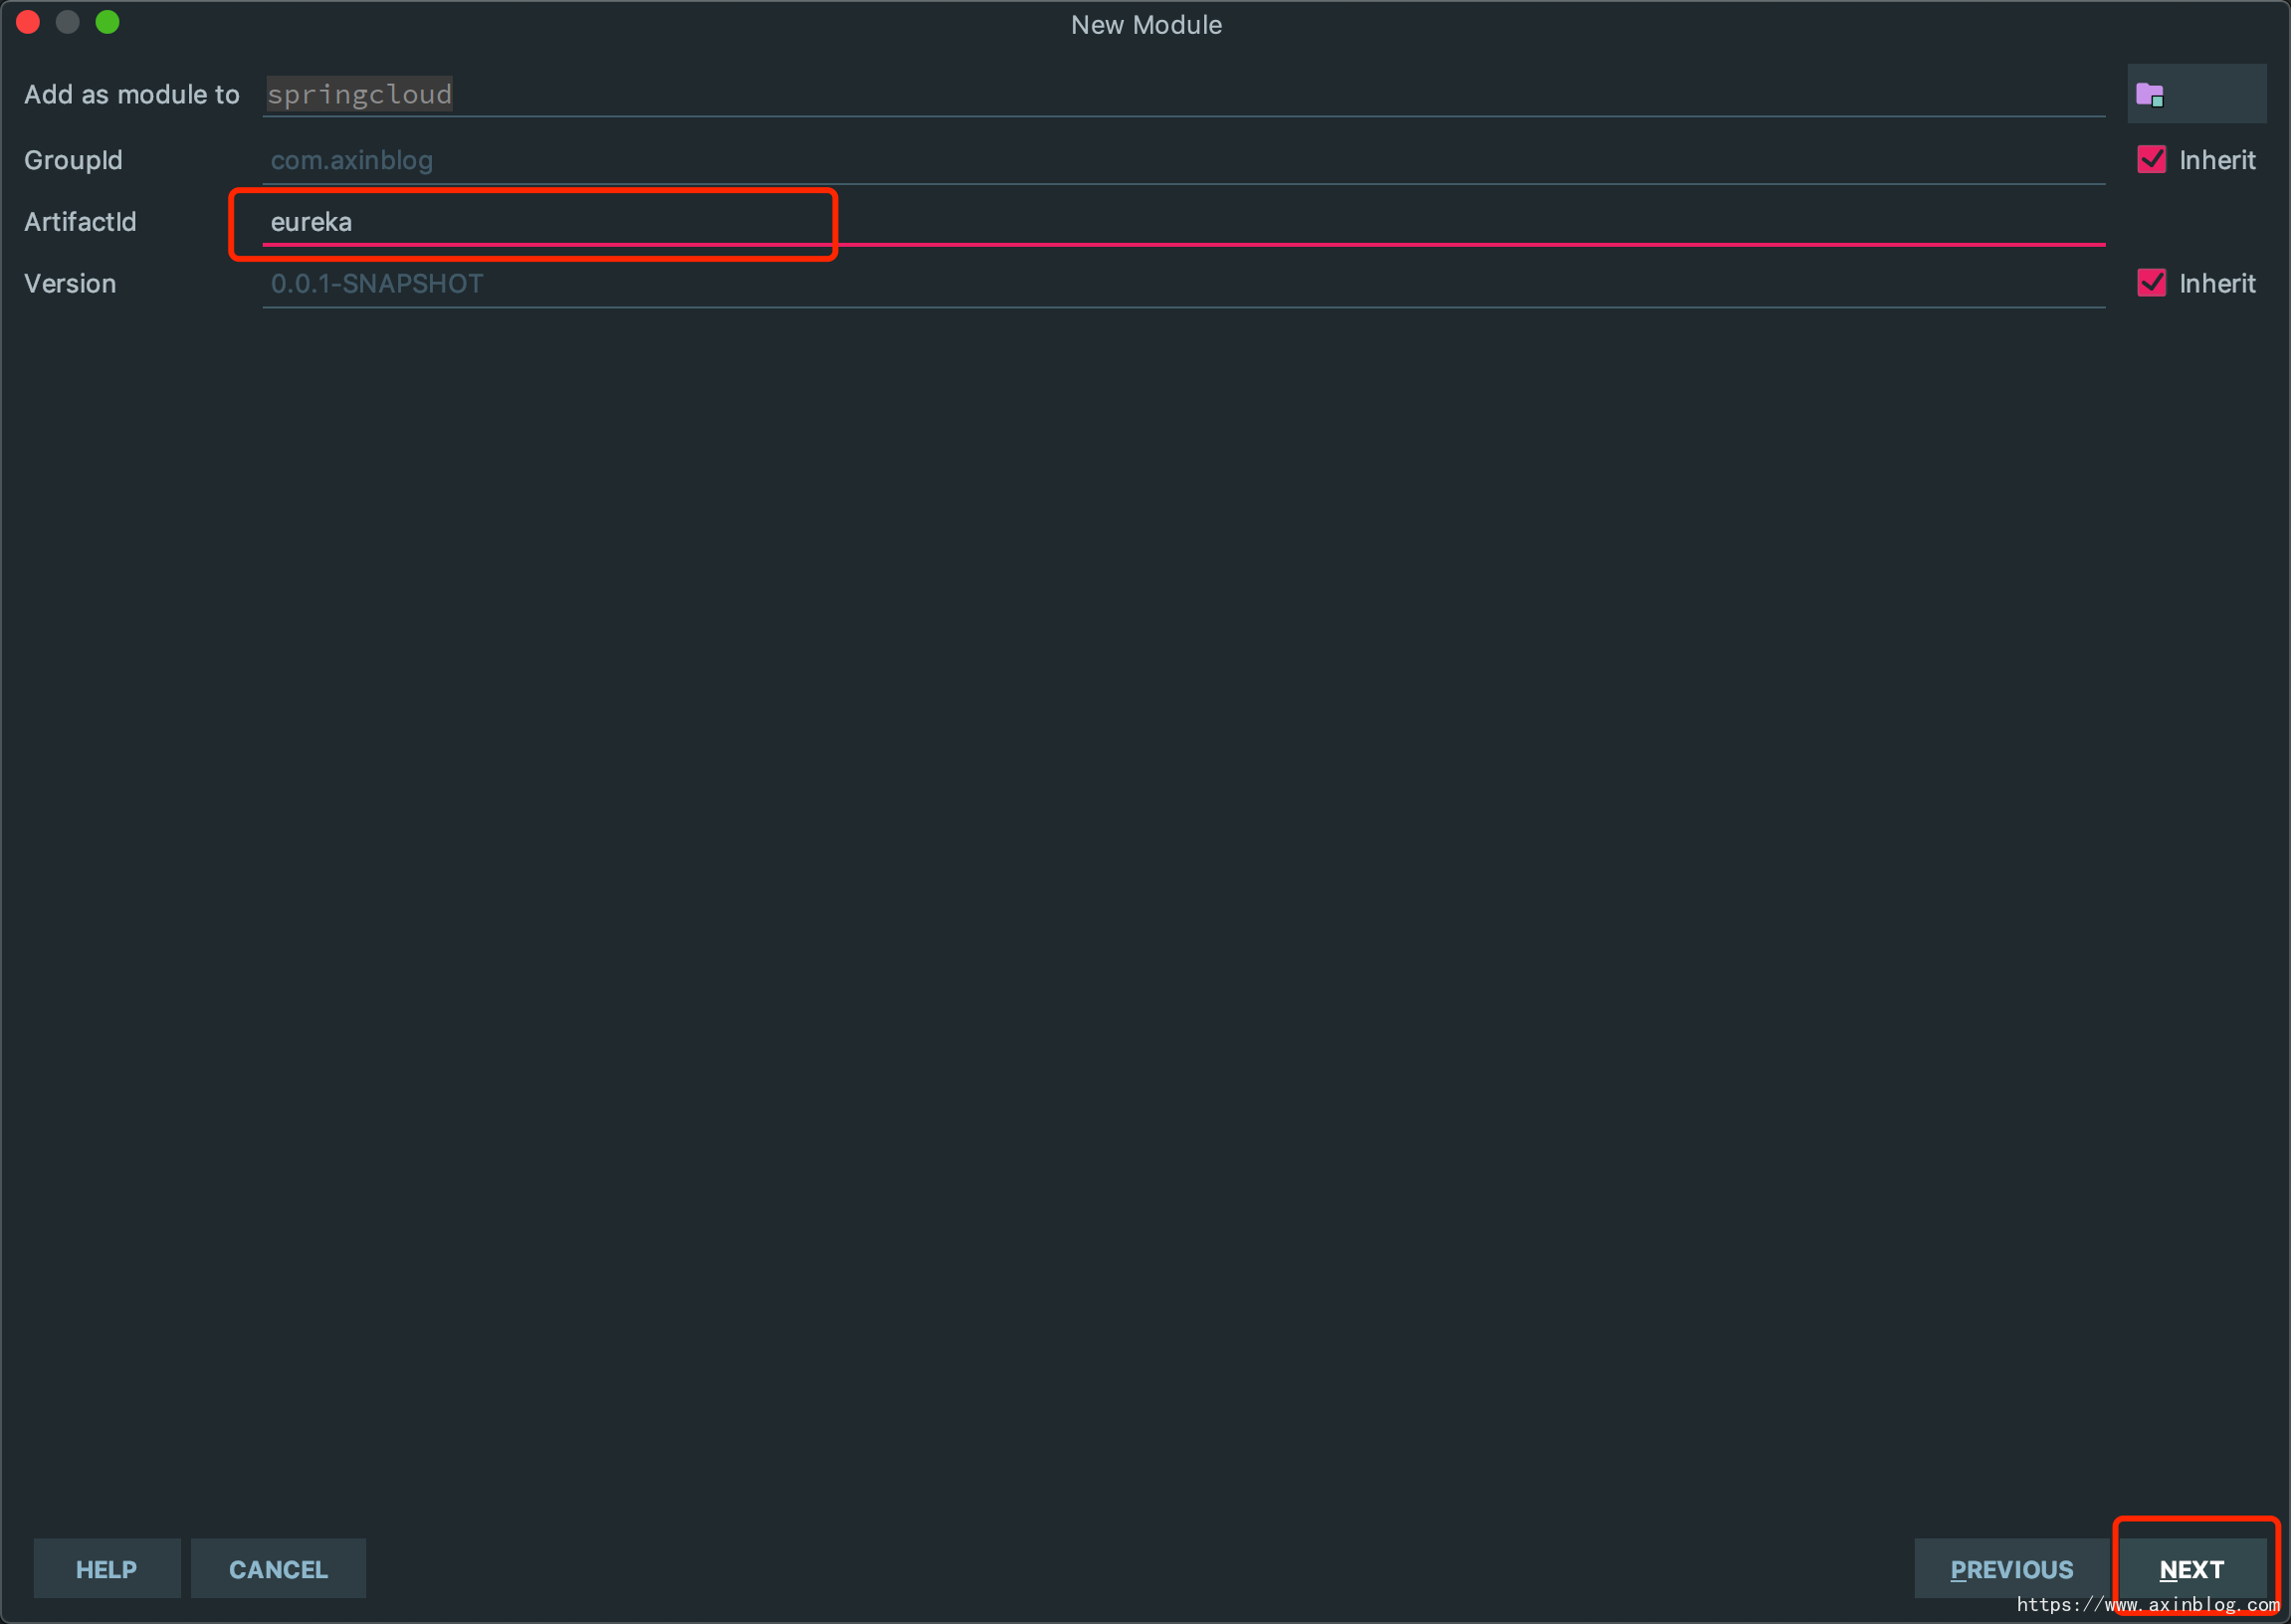
ArtifactId 输入 eureka
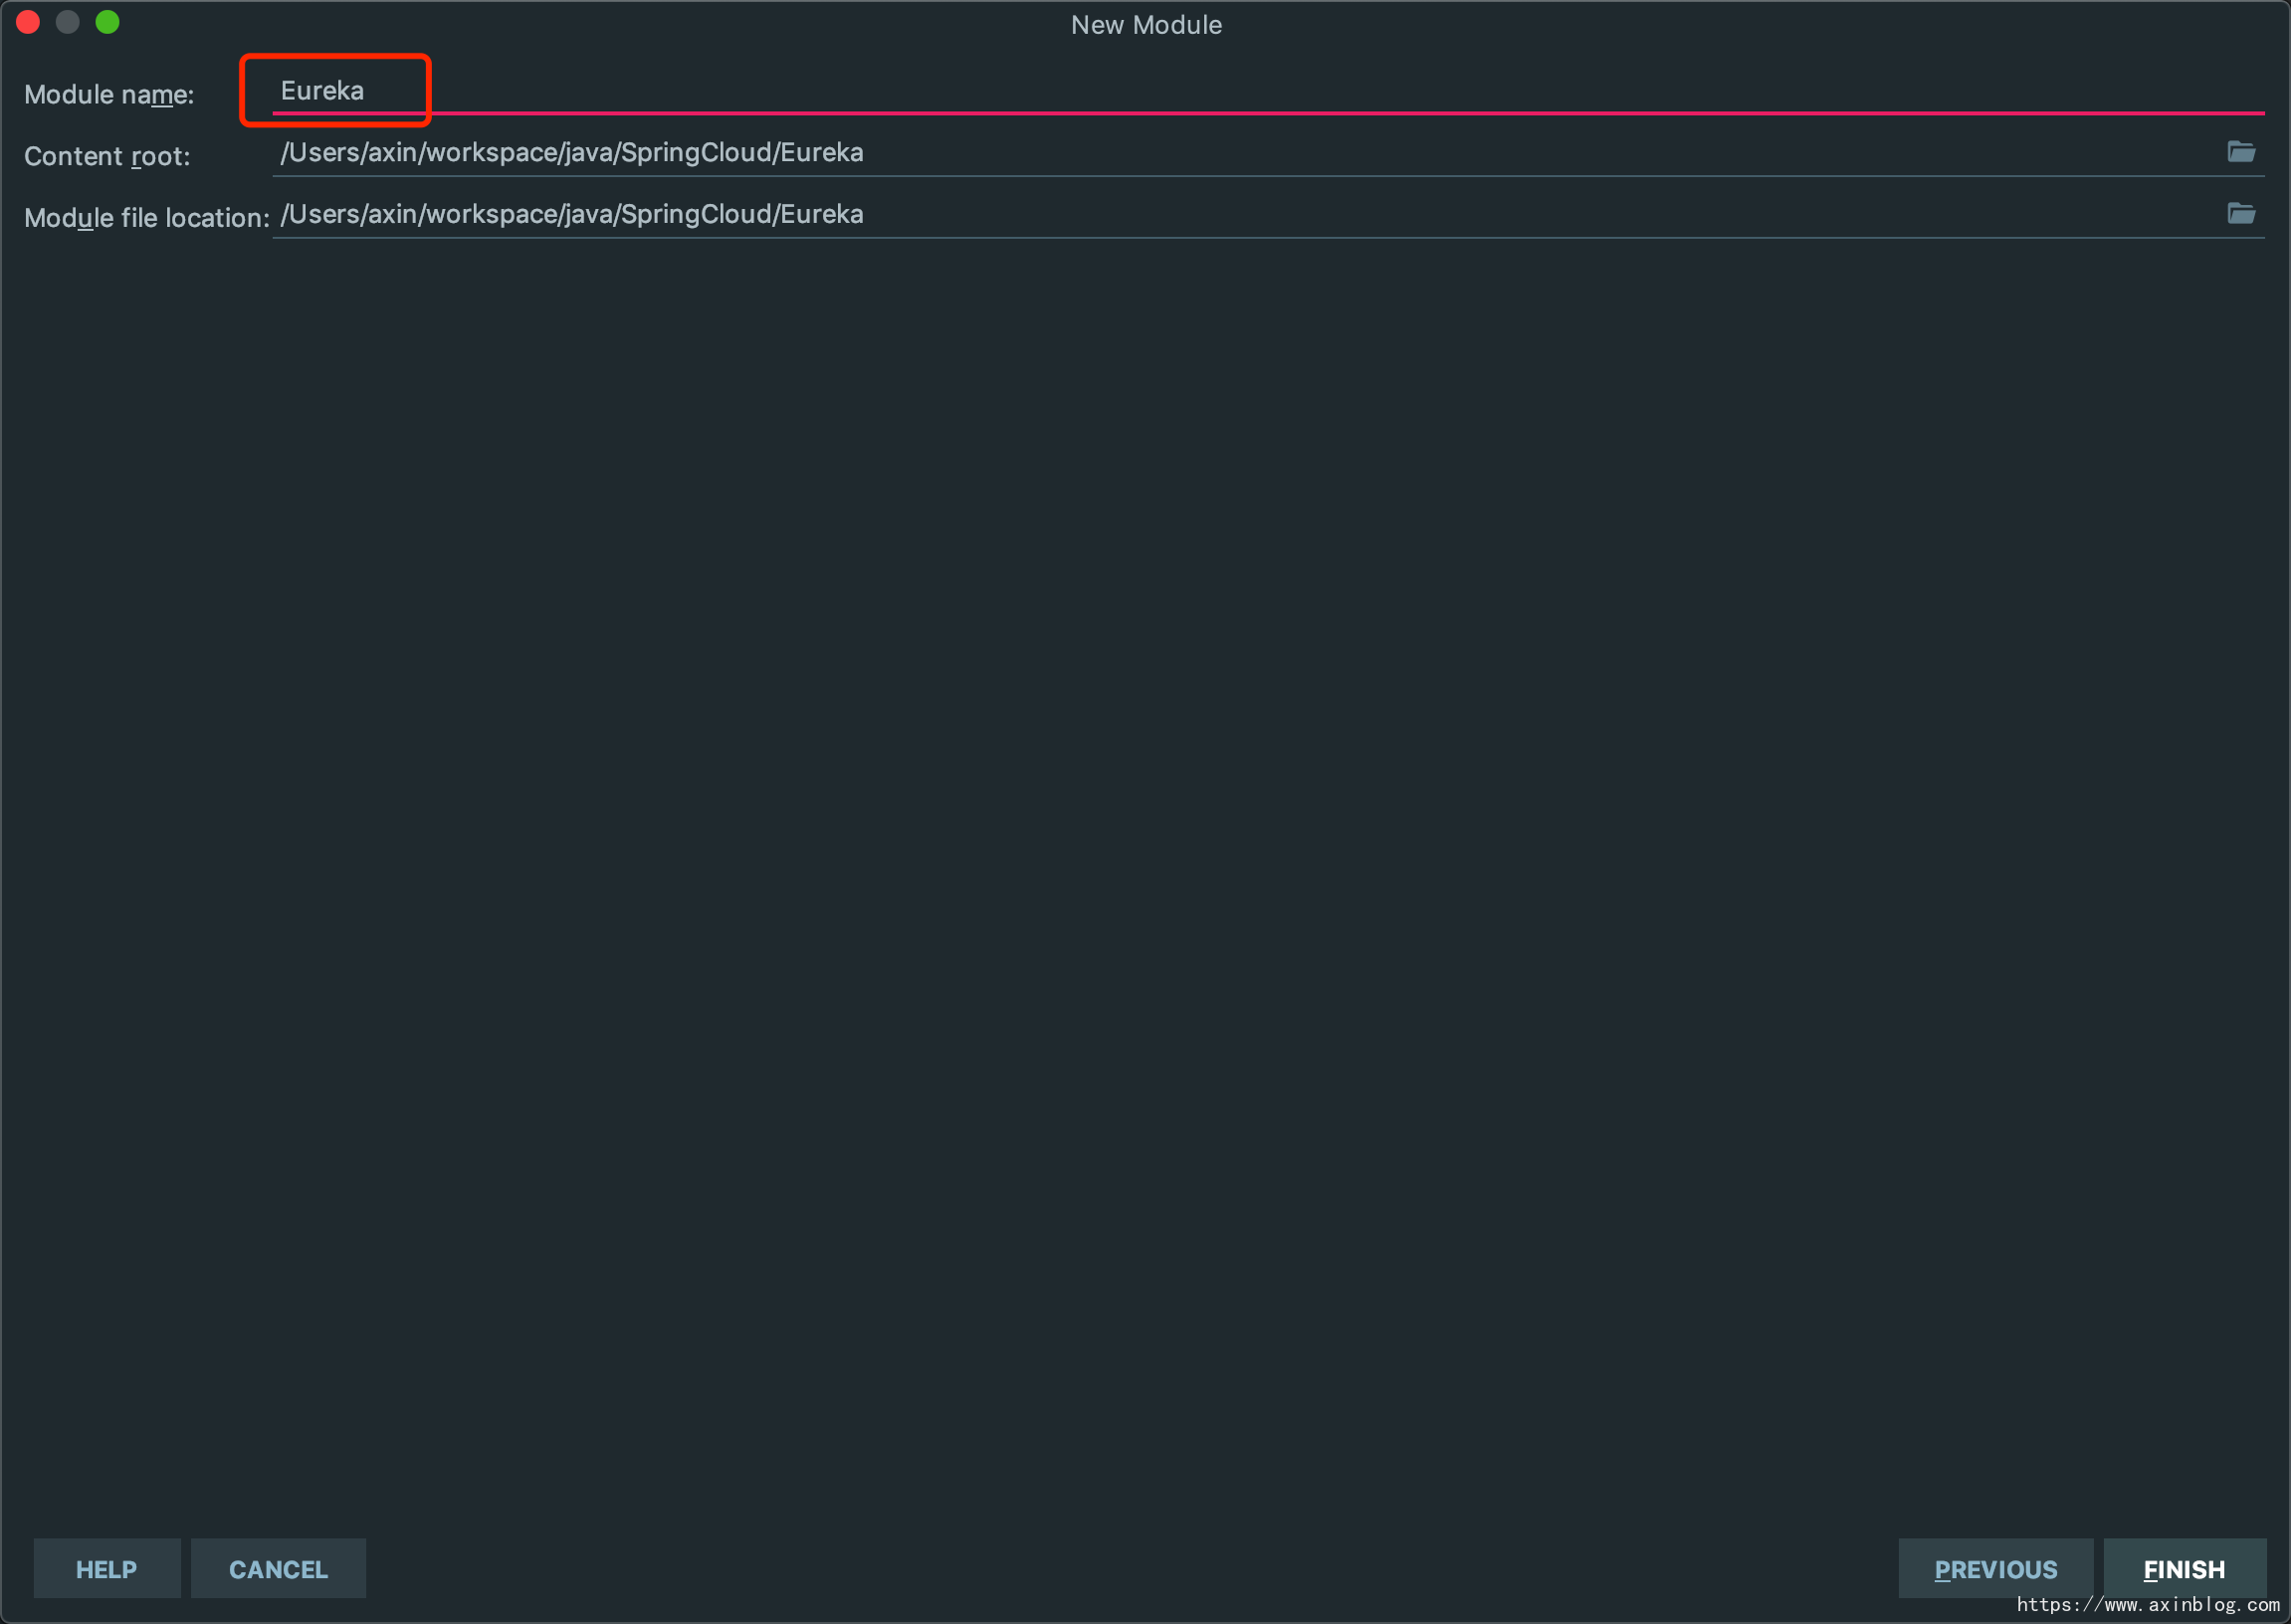
Module name 我使用的是大写
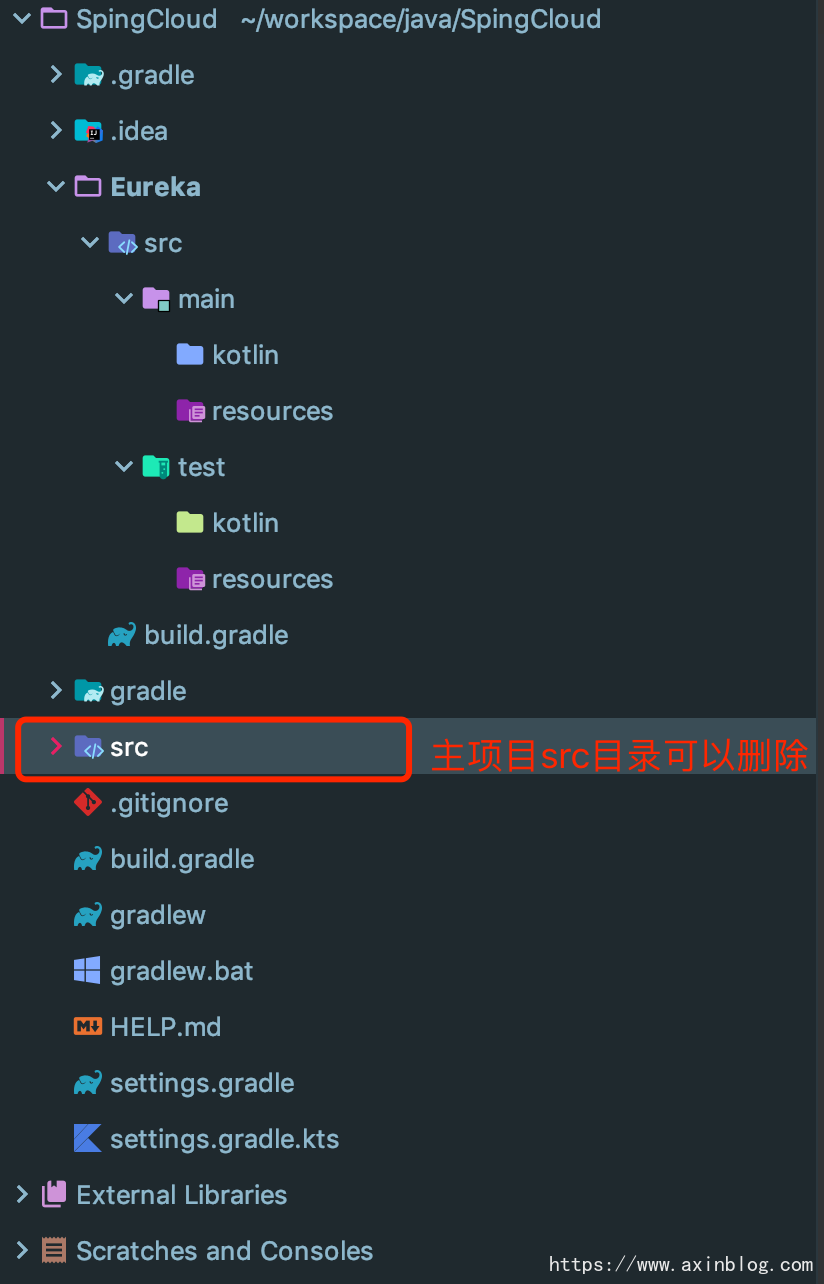
现在项目结构如图
Eureka 的启动
启动类
package com.axinblog.eureka

import org.springframework.boot.autoconfigure.SpringBootApplication
import org.springframework.boot.runApplication
import org.springframework.cloud.netflix.eureka.server.EnableEurekaServer

@SpringBootApplication
@EnableEurekaServer
class EurekaApplication

fun main(args: Array<String>) {
    runApplication<EurekaApplication>(*args)
}
|
Eureka build.gradle
dependencies {
    compile('org.springframework.cloud:spring-cloud-starter-netflix-eureka-server')
}
|
这里build.gradle导包的时候会有个提示
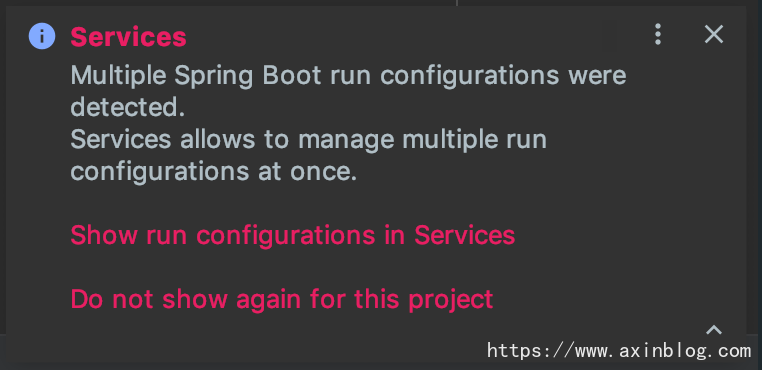
选择Show run configurations in Services,就会出现Run Dashboard面板
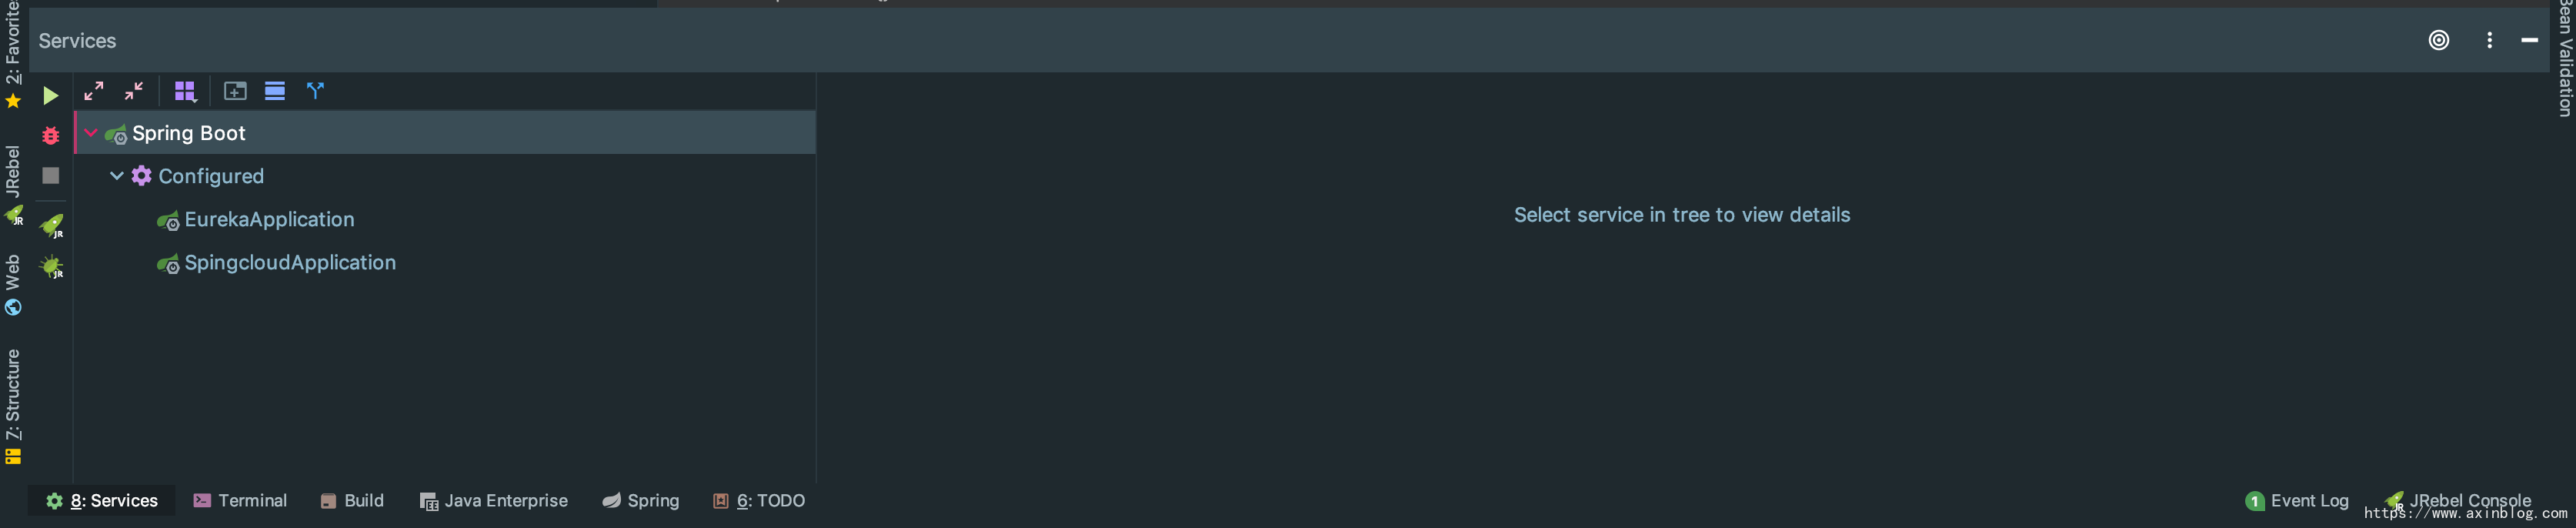
在Run Dashboard可以同时运行多个微服务
Eureka application-dev.yml
server:
  port: 8081
spring:
  profiles:
    active: dev
  application:
    name: eureka
eureka:
  client:
    # 是否将自己注册到注册中心(注册中心集群需要设置true)
    register-with-eureka: false
    # 是否需要搜索服务信息 因为本身为注册中心所以设置为false
    fetch-registry: false
    # 配置eureka服务器地址
    service-url:
      # 浏览器打开: http://localhost:8081/
      defaultZone: http://127.0.0.1:${server.port}/eureka/
|
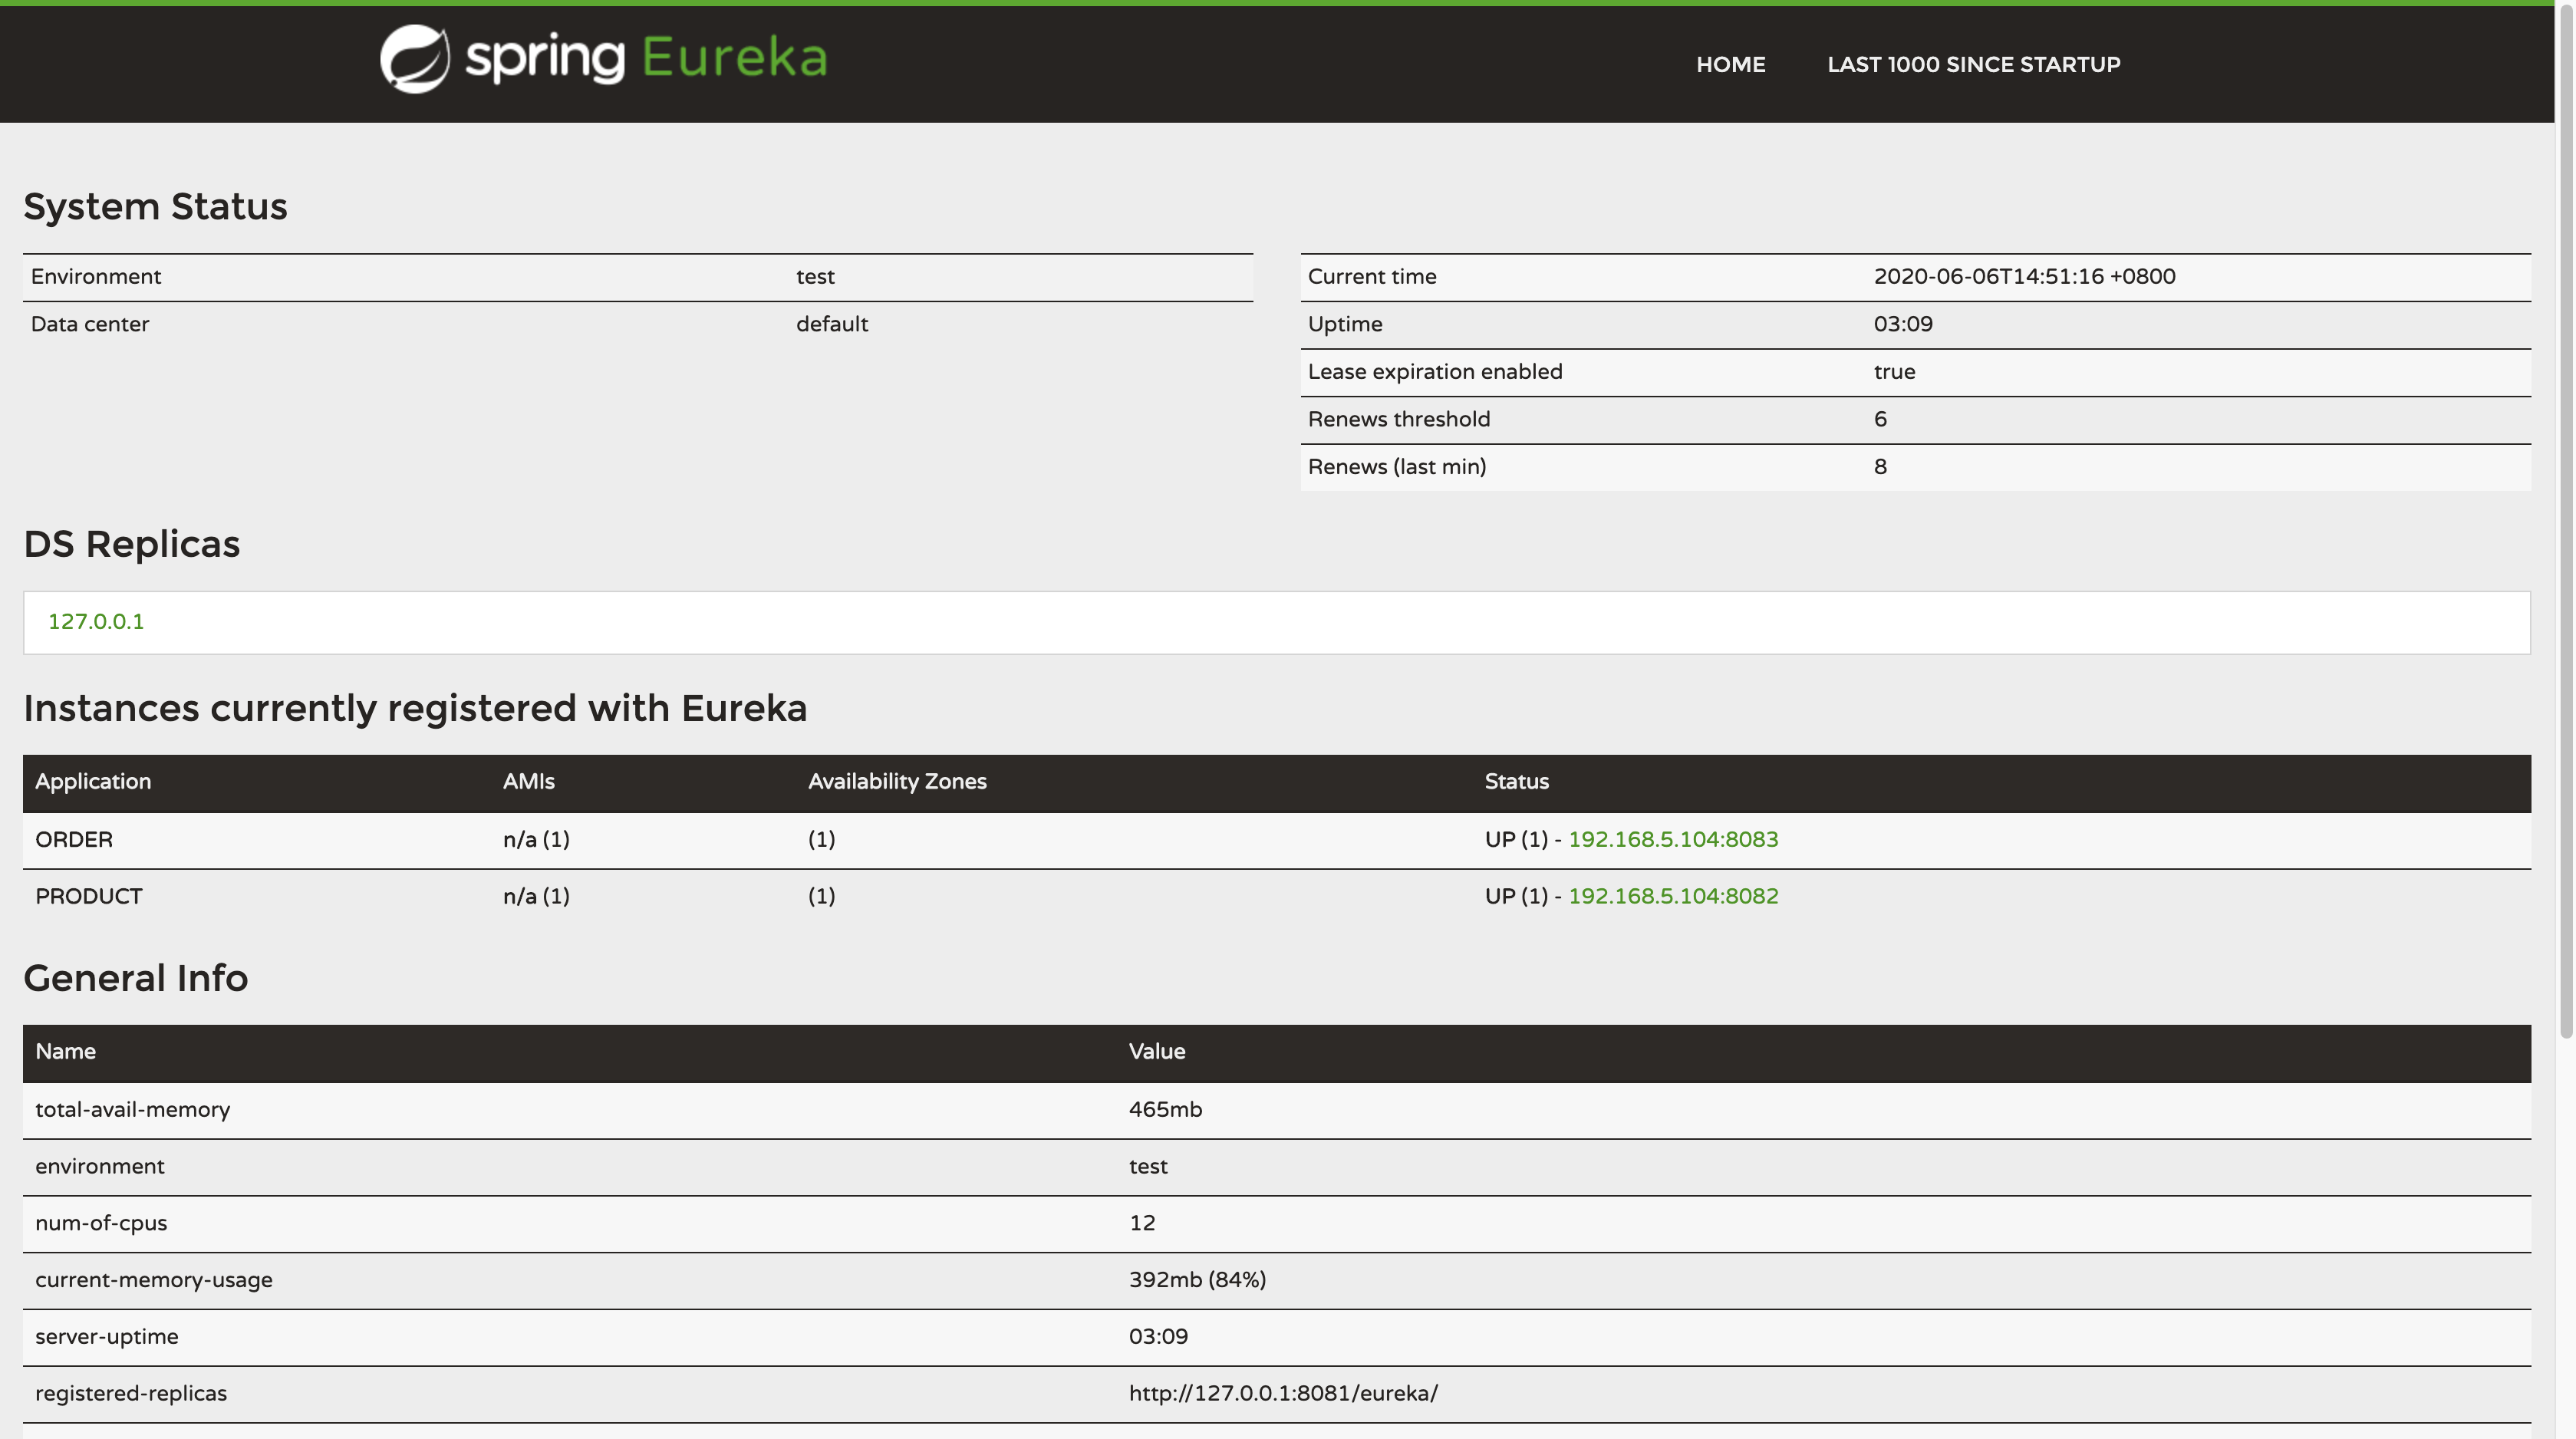
启动项目就可以在http://localhost:8081/看到Eureka面板了
问题说明
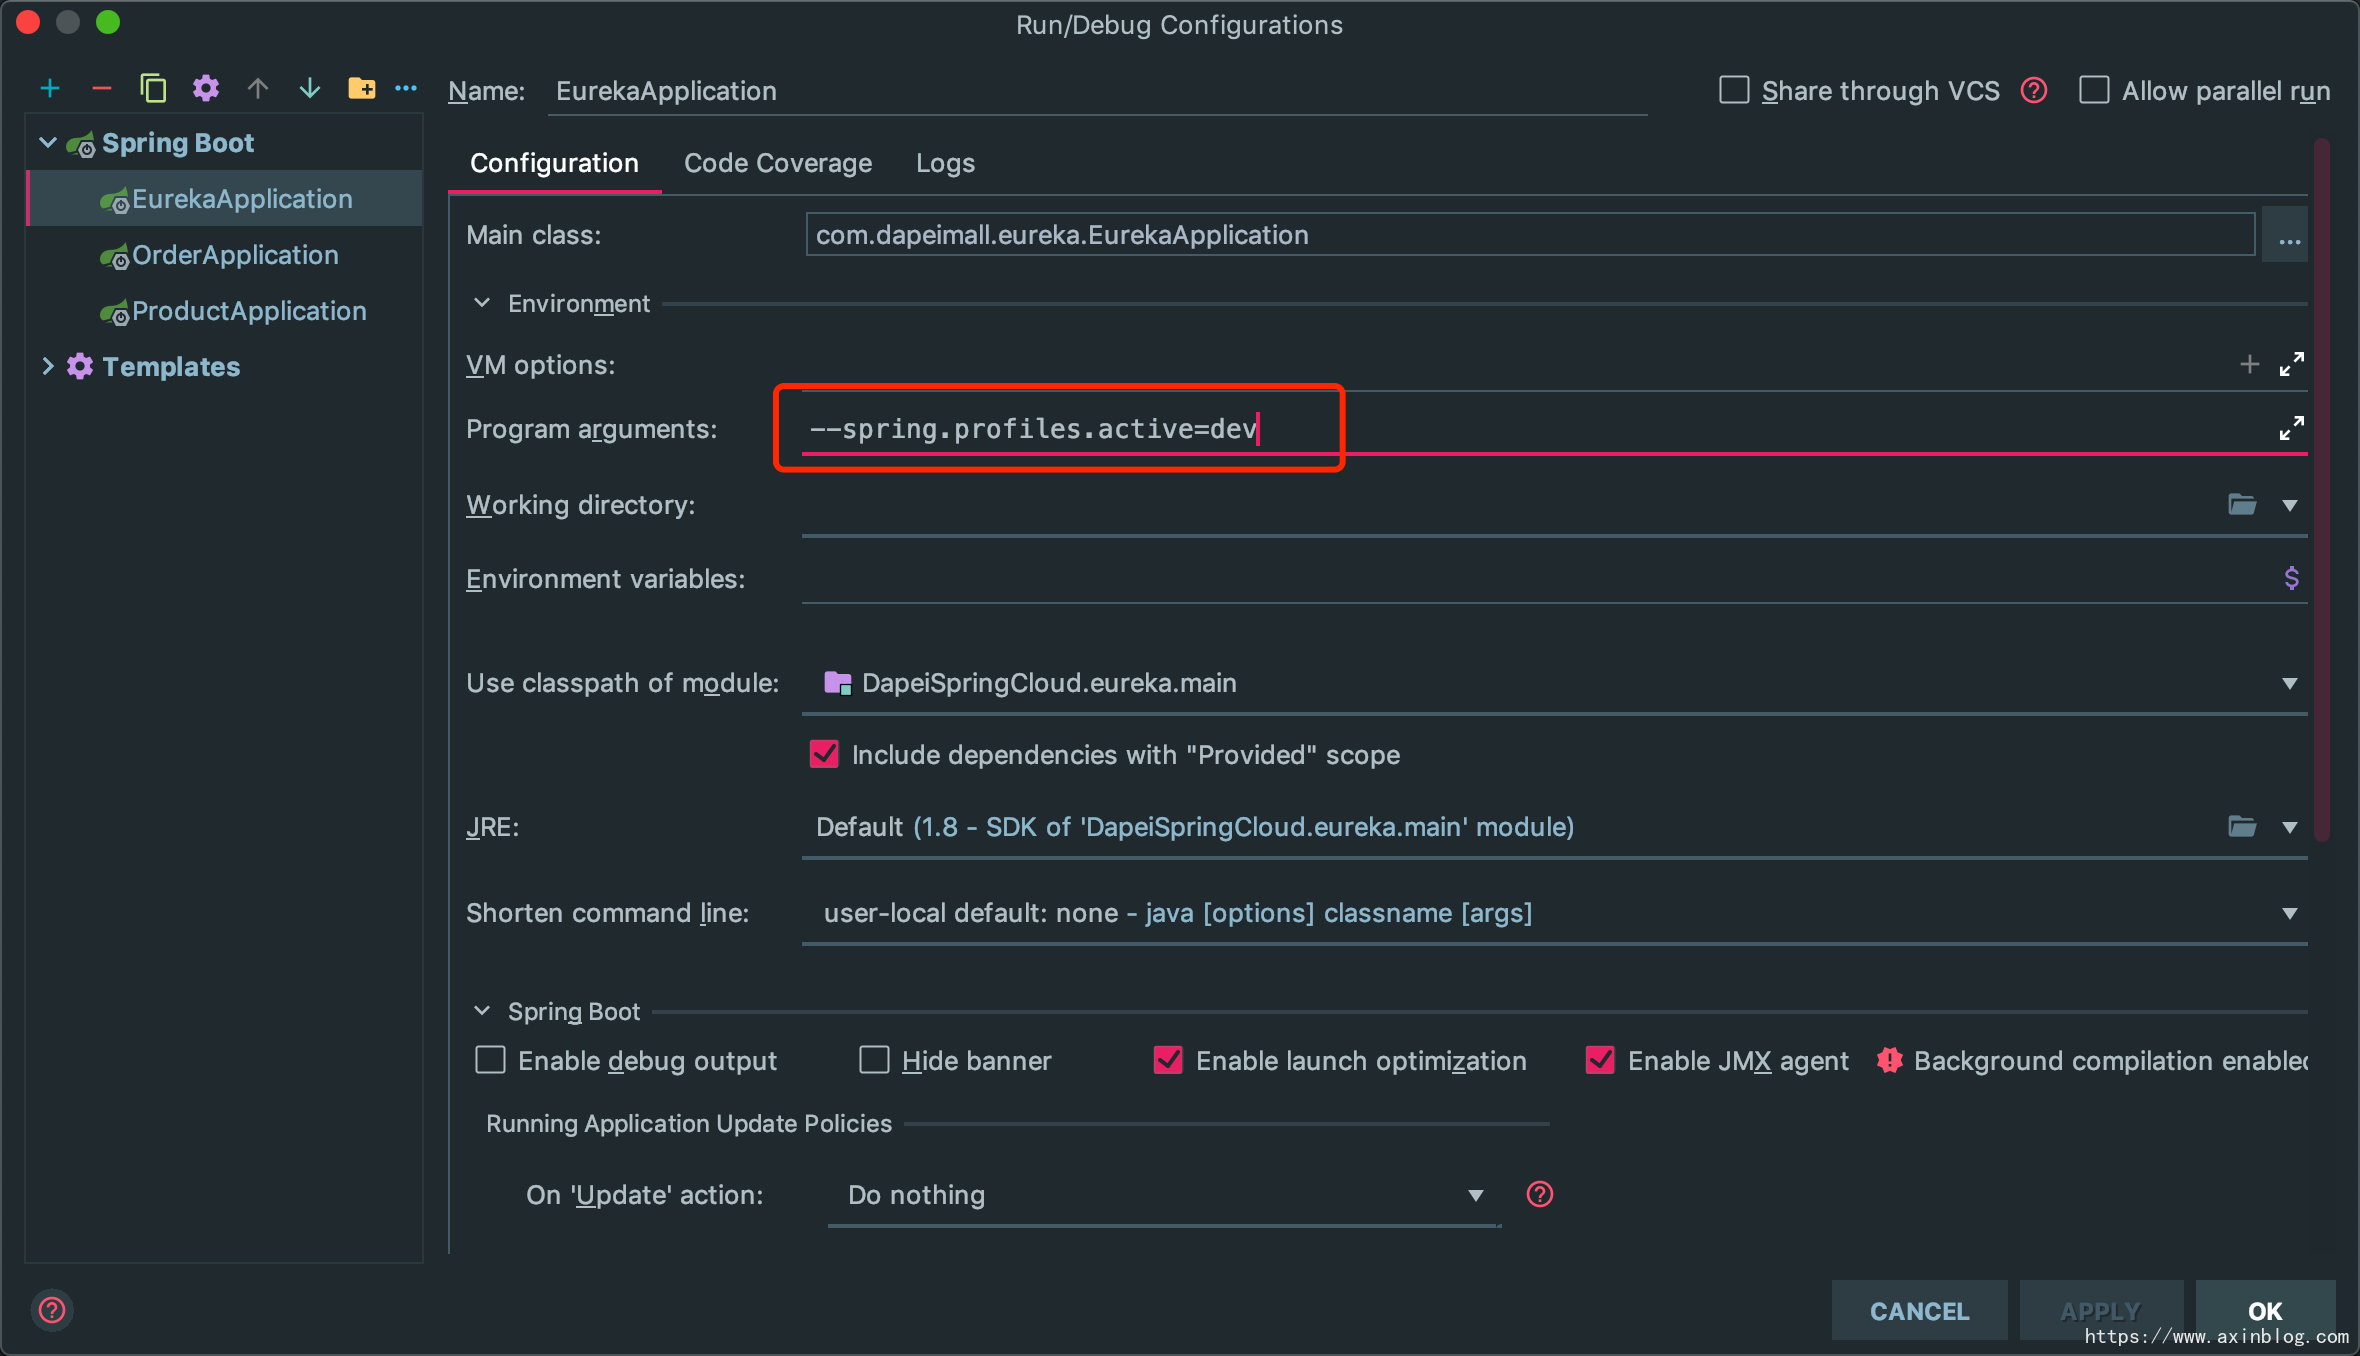
Eureka 不使用application.yml配置文件,始终绑定8080端口
解决方案:
Program arguments: 增加--spring.profiles.active=dev